On a recent rainy day trip to our local grocer to replenish our yogurt stash, we were hit with a genius idea. You see, we eat so much yogurt, by the time we had returned to the store from our last trip where we bought all the FAGE they had, they were still sold out and waiting for a shipment.
As the rain fell on our sad walk back to the car, we had no one to shake our fists at but ourselves. So the idea, let’s start making our own yogurt.
And let’s do it today so we will have some for breakfast tomorrow because all we have left is one 6 oz. container and 6:30am is too early to have a food fight.
Homemade yogurt is surprisingly easy and our version is incredibly simple and economical. All you need is a vessel for your finished product, milk, and a few spoonfuls of any plain yogurt in your fridge. After 20 minutes of work and one night of peaceful sleep, you can turn your one lone, last container of yogurt into an entire quart of homemade goodness!
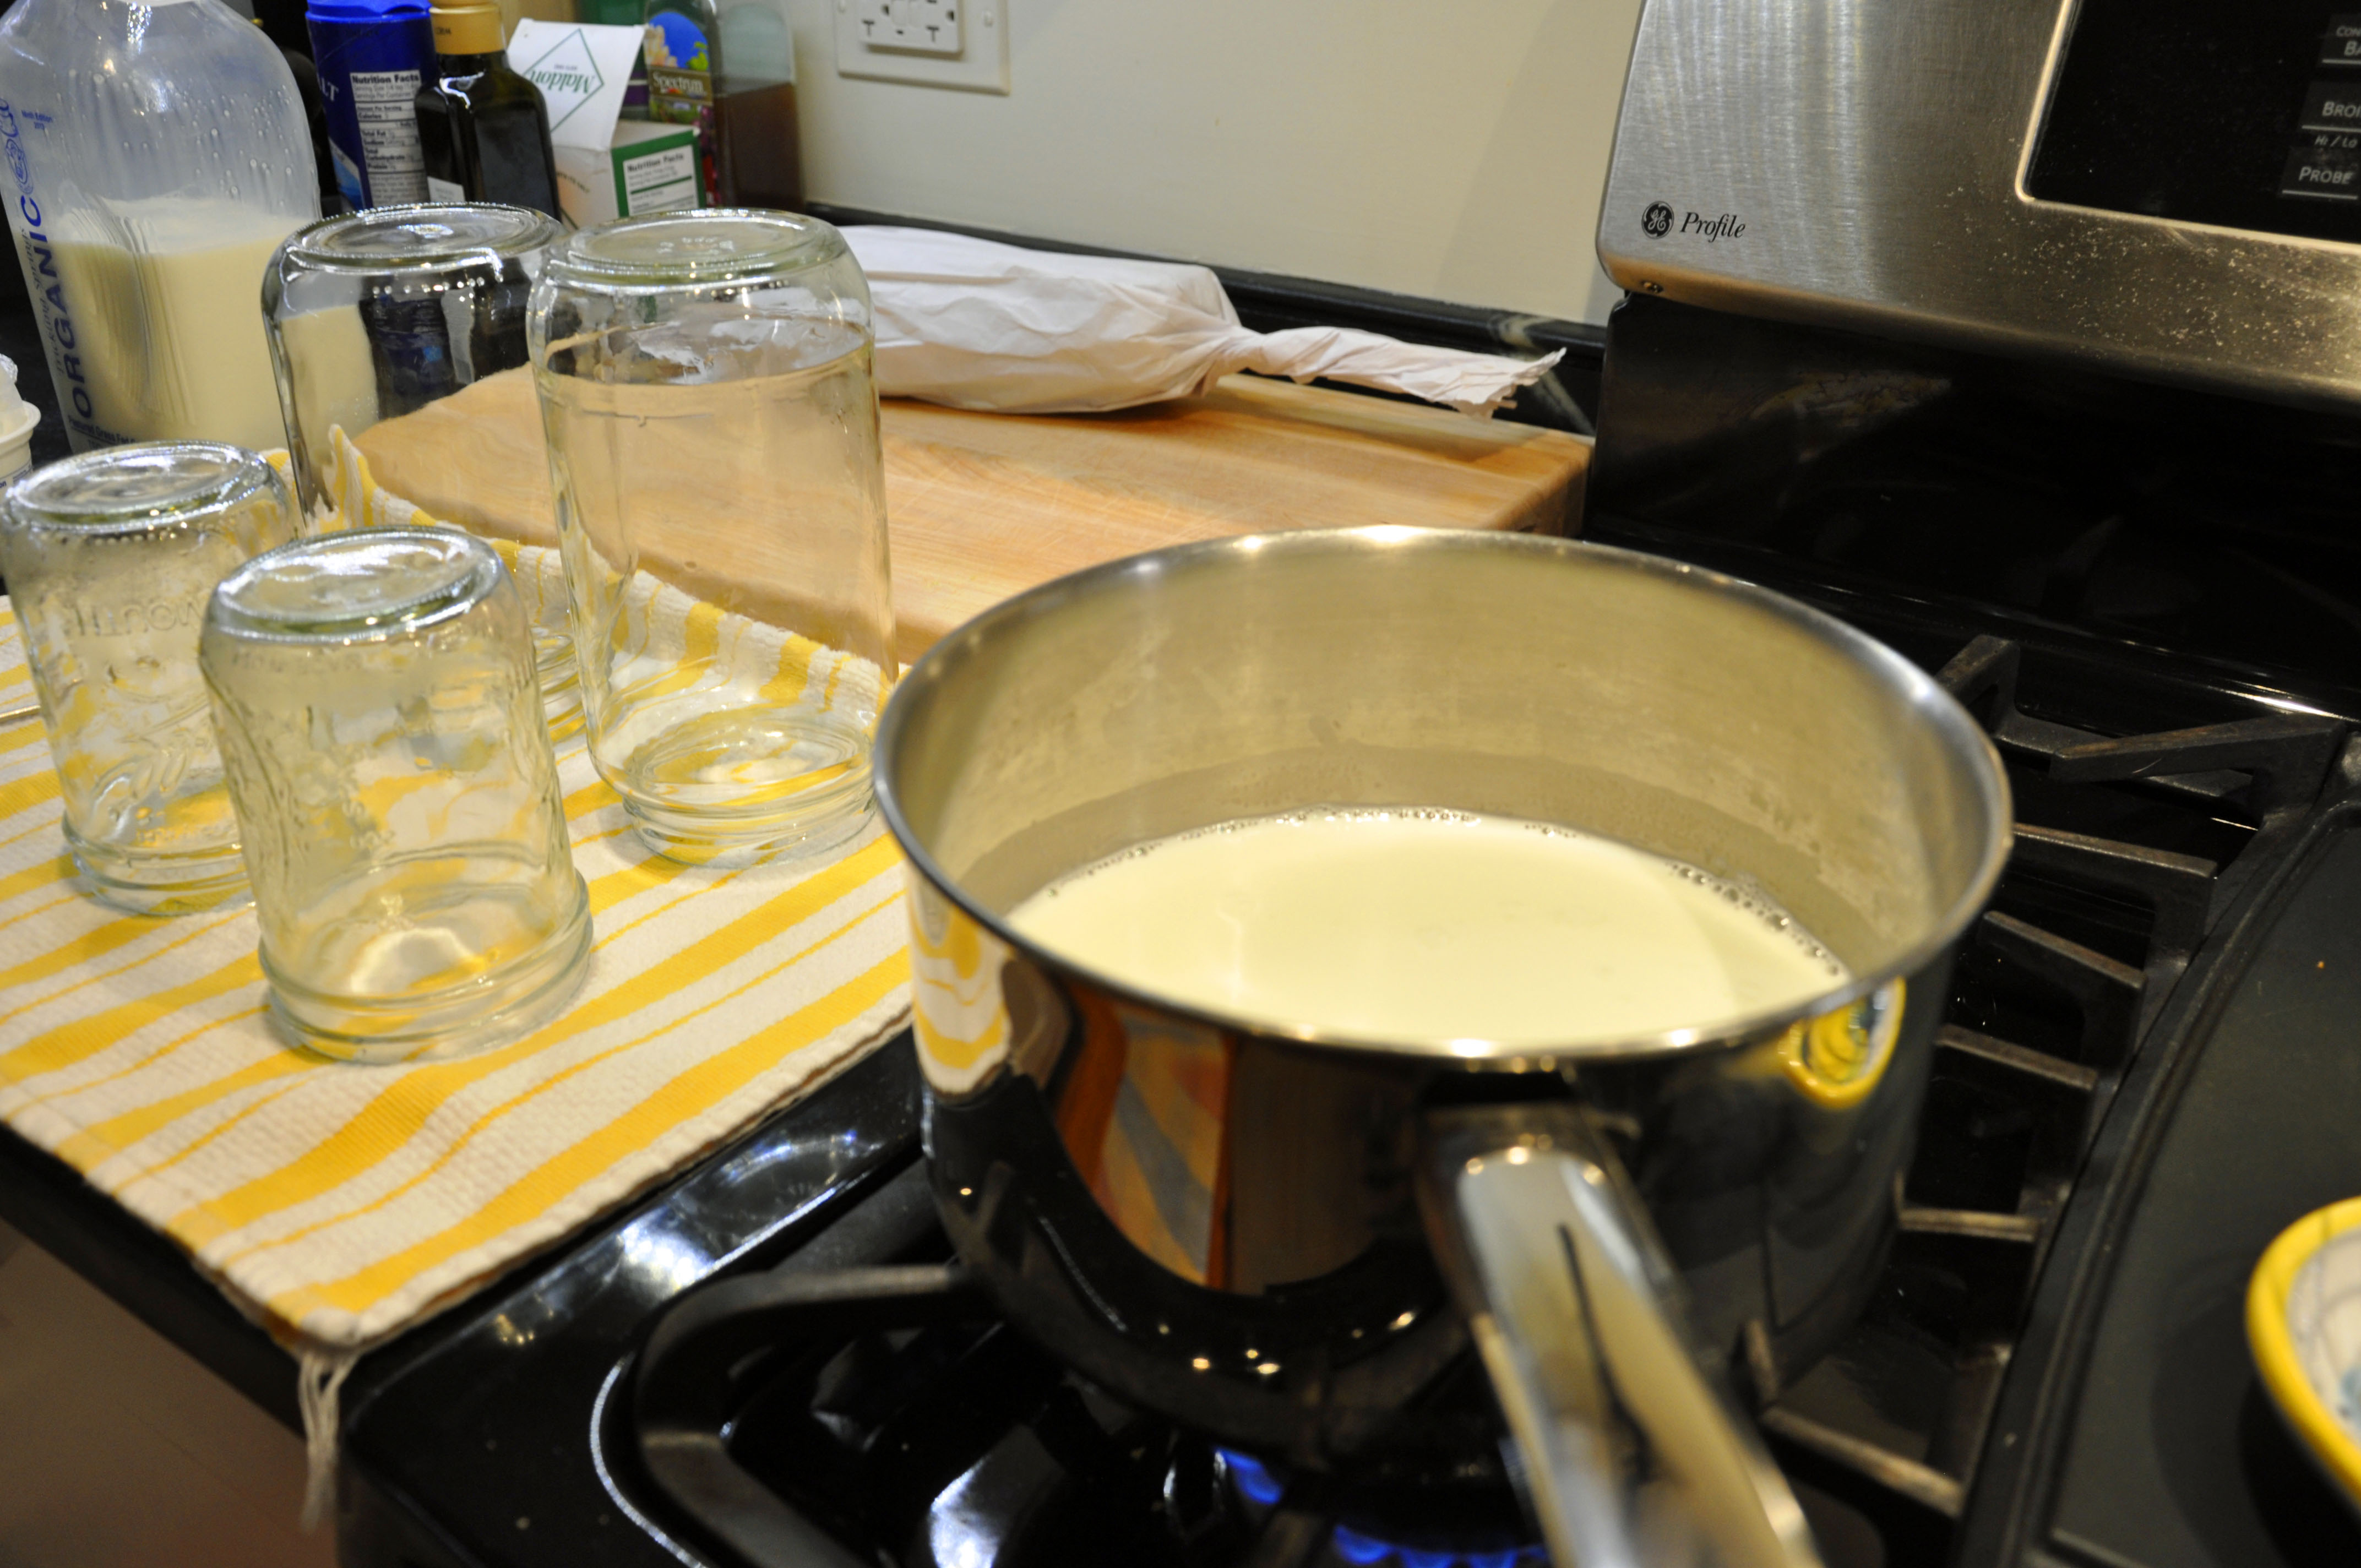
We went home and found a few Mason jars of various sizes, depending on your own organizational state of mind, you may do better finding ones of similar size just for continuity. We also had a jug of grass fed milk – regular, full fat milk. If you prefer non-fat dairy products, don’t worry. That works in this recipe too although it may end up a little thinner than the store bought variety you are used to. That’s because most non-fat yogurts contain thickeners. If you really miss that texture, drain your finished product in cheesecloth inside a strainer or colander, over a small bowl, overnight in the fridge.
Ingredients:
- 4 cups of milk
- 3 tablespoons of your favorite plain yogurt
Equipment:
Thermometer, medium sauce pot, oven

Begin by sterilizing your jars and equipment. You can use your dishwasher, as most have a sanitizing setting or you can go old school and use a pot of boiling water like us.
After your jars are dry and ready, pour milk into the sauce pot and set your burner or flame to medium-low. Using a thermometer, periodically check the temperature of the milk as you occasionally stir it. Be careful here, you don’t want the milk to scald. When it reaches 180°F, remove the pot from the heat and allow the milk to cool to 115°F. (If you’re in a hurry, you can use a large ice bath to expedite the cooling process)


Once the temperature reaches 115°F and no lower, add the yogurt and slowly stir to combine.


Pour the mixture into prepared jars, cover with plastic wrap and incubate at 110°F for at least 5 hours or overnight. This sounds tricky but if you have an oven with a pilot light, you can place your jars directly on top of your oven rack and leave the light on.
If you don’t have an oven with a pilot light, a microwave with a microwaveable heating pad will do the trick. Or inside a crock pot, with water hitting the jars at the halfway point, set to its lowest setting. You just want to be sure you are wrapping your yogurt in a safe 110°F-115°’F environment where all those good bacteria within it can thrive. Also important is a still, quiet location. Any jostling or movement could affect our final product.

After five hours or the next morning, check your yogurt. It should look thick and creamy. If it still looks like milk, it needs more time. Once you feel your yogurt has developed, cap it and put it in the fridge for 2-3 hours to chill. During this time, your yogurt will thicken even more. Remember, no jostling around!
Your yogurt can stay in the fridge for up to two weeks! We found that the flavor was best in the few days following our experiment, after a week it loses a little bit of steam. That’s ok with us though because it normally doesn’t stand of chance of lasting more than a few days in our fridge.